
My DIY Turntable
Building a turntable was something I wanted to do was soon as I acquired a lathe.
The first step was to design the bearing as I assumed this would be the hardest step. I chose and inverted style bearing using a steel shaft, o-lite bushings and aluminum housing.

Sketchup design for the main inverted bearing
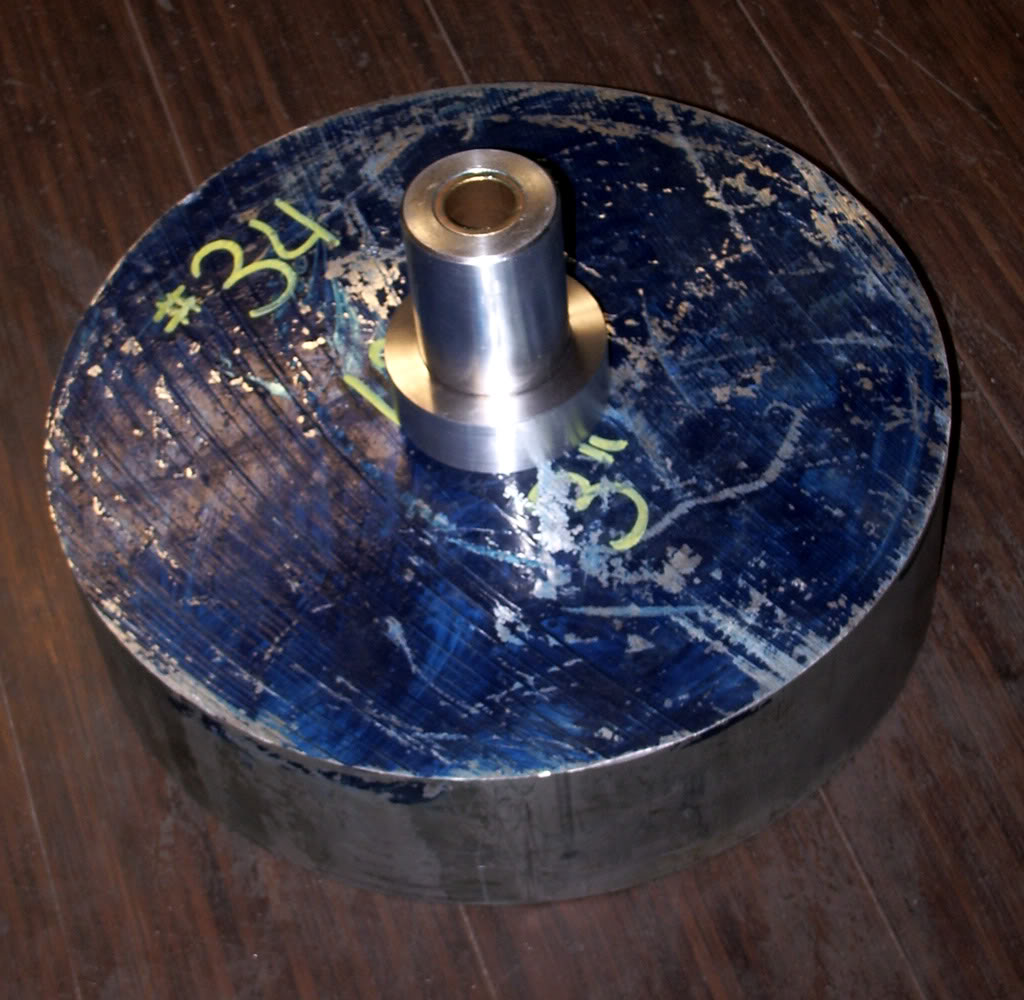
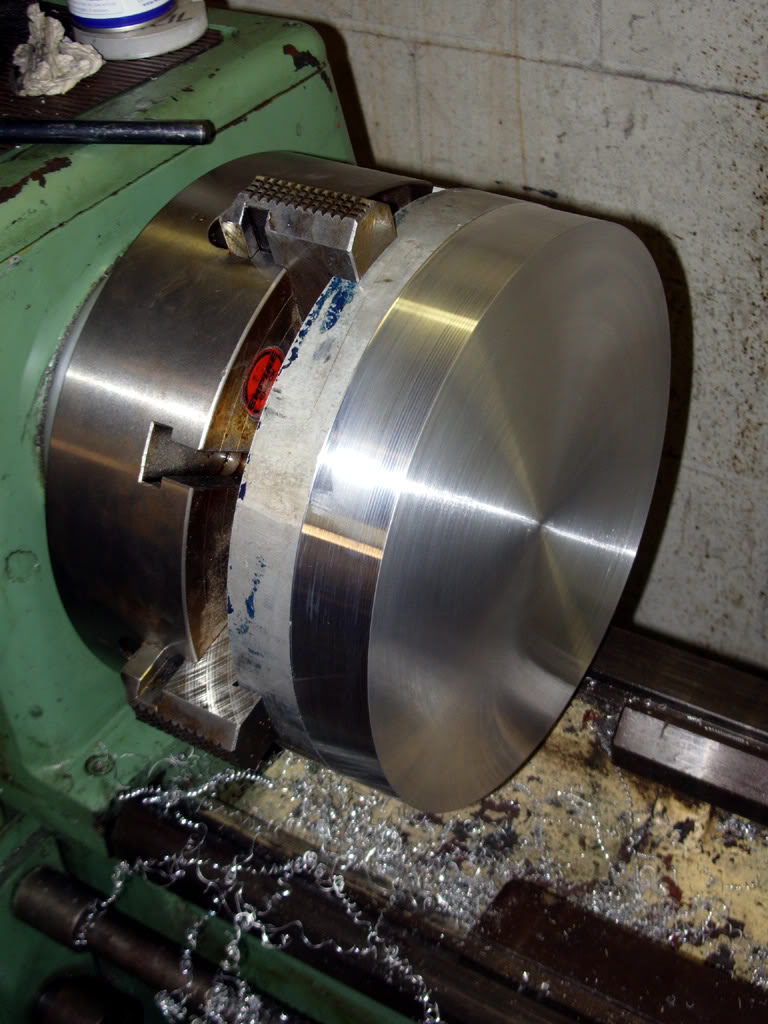
Once the bearing was finished I decided to make the platter. The platter has one bore straight through the center and it sits on the shelf of the bearing. I chose to machine it this way so the top playing surface could be cut at the same time, keeping the playing surface perpendicular to the bearing bore. Otherwise small errors may have been introduced when reversing the platter to counter bore. The platter start off as a 3″x12.5″ piece of 6061 Aluminum.
Once I was happy with the bearing and platter, I needed a base. Initially my plan was a cast epoxy granite base, but I found some interesting looking parts at work, I decided to use them. A simple adaptor plate was made to match the bore from the parts to the bearing.

The bearing being test fitted in the base with the adaptor plate
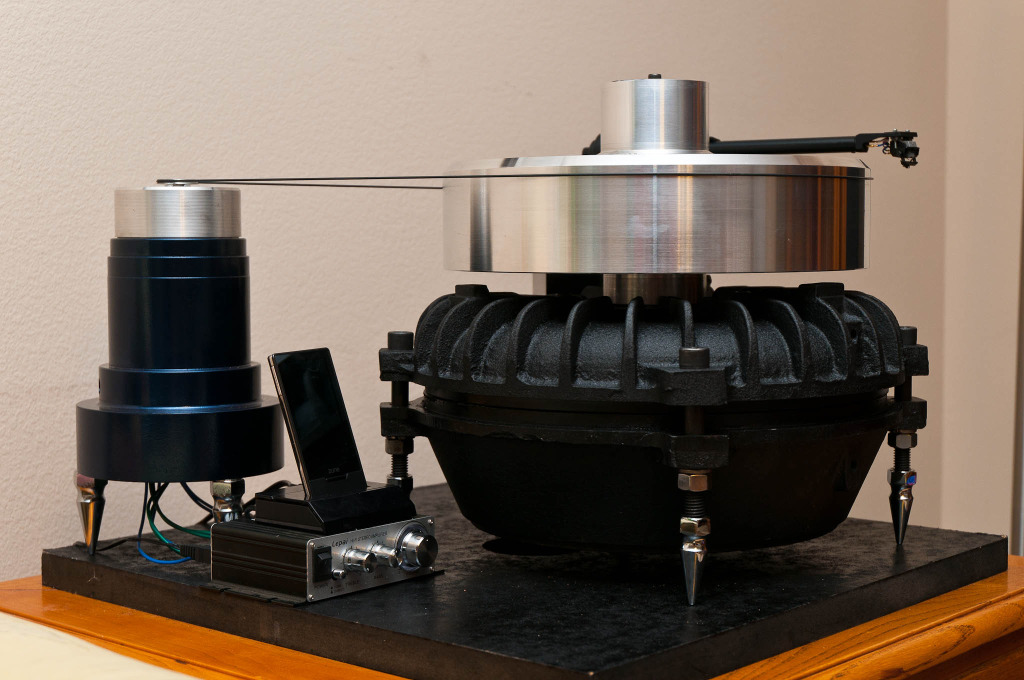
At this point it was ready to be tested. For the motor I had already chosed to use the Ipod drive. An ipod, with a small Lepai t-amp and some transformers is used to drive a Berger-Lahr AC synchronous motor. By adjusting the frequency on the ipod, I can adjust the speed of the turntable. I was planning to make a tone arm, but ended up with an Audioquest PT-6.
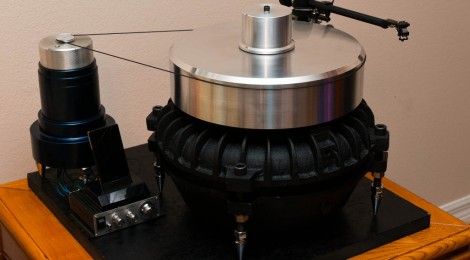
Once I confirmed it all worked, the turntable was striped down, powder coated and set up at home.


Hi,
Just want to say hi… this is the coolest DIY Turntable i have ever seen… super funky super cool…
Sonny
Thank you.
Who made your custom aluminium platter? I am looking for a company to make me one?
As can be seen above I made my own, I no longer have a lathe but any competent machine shop would be able to make similar.
That is slick. What model number AC motor did you use? Making an attempt at building my own and looking for a good motor. Though my plater won’t be quite as heavy.
I’m not sure on the model, they were just a bulk lot I came across. Something like the Hurst motors used on VPI turntables would be a good alternative.
Hi,
I was very intrigued by your platerspeed results, as they are the best I have seen (better than VPI direct Drive). Do you think it’s MP3 the motor drive system?
I think the mp3 motor drive helps. The main thing is to the use the Ultimate Analogue test lp as it has the most stable 3150hz test track. Otherwise really, I think it was a bit of luck.
Can you tell me where I can get the same motor bells you used for the plinith ?
Try your local electric motor repair shop, a lot of them end up as scrap for recycling.
Are your main bearings available for purchase?
No, I no longer have access to a lathe of that size.